
Before moving on to the interior, I’ll mention that with these detail add-ons like the photo-etched brass set and the 3D printed parts, I’ve never seen anything that deals with paint details as they appear in the film. So, builders have to look for these themselves.
In the photo below, which probably violates some copyright restrictions somewhere (my apologies, please don’t sue me!), I’ve marked with green arrows the more obvious panel coloring that I’ve seen reproduced on some models.

The red arrows show panel coloring at the sides of the cockpit window as well as what looks like another set of handholds. I’ve never seen anybody paint this particular panel or add these handholds. I’m not planning to, as I think I’m dealing with enough on this model, but maybe someone else out there has done, or will do this.
Next, I moved on to some of what I consider the more fun stuff, detailing the cockpit area. First off, I dealt with a part that I always thought was some kind of airlock door on the sides of the interior cabin. Watching the film closely and being able to stop and start it, I found that these parts actually represented storage compartments for navigational and survey charts. I figured it would be pretty difficult to make these compartment faces nice and uniform, so I pulled out my Silhouette Cameo vinyl cutting machine and I used their software to design and cut some adhesive-backed matte white vinyl for the compartment faces, and similarly made the steel looking metallic vinyl for the compartment handles.

This worked perfectly, but the actual compartments were labeled. The best I could do was to handwrite some faux text on them, so that it looked like they said something. This ended up a bit busy looking, but frankly, you can’t see the detail very well though the models windows anyway, so they should be fine.

In actuality, it appears that only the panel on the left side of the Moon Bus (port side?) looks like this. The other side, we only catch a brief glimpse of a computer terminal, so it really should be plainer, without these details. But, I decided to leave well enough alone here.
Below, you can see these panels in place. Also, you can see what I ended up doing with the main control panel in the cockpit. I had considered trying to adding some kind of lighting, but decided to stay simple and just rely on the “overhead” LEDs to provide the interesting lighting effects.

One of the things you’ll start to notice in my photos is that I made first use of some panel marking pens to highlight the details. I used these along panel lines, as well as to provide a little shading along the edges of some surface details. I used Gundam markers for this. It was a bit easy to go overboard on this, so I tried to be a bit subtle. I probably won’t be certain how successful I was on this until the model is all done.
Next thing I wanted to do was to wrap up the lighting on the model. With the cockpit details in place, I repositioned the interior lighting and did another test. Because earlier testing showed the passenger/cargo section to be too blue, I swapped out a couple of the blue LEDs for white ones. There are now a total of 3 blue LEDs and 2 white LEDs in the passenger/cargo section, and 4 LEDs in the cockpit.

With all blue LEDs, you couldn’t see any of the details, just blue “stuff”. Here, I made sure to place a white LED directly above the passengers. Below, you can see some of that the details are visible now.

In the above photo, you can also see some of the paint details I added. Those little squares beneath the windows show up in film and were easy enough to add. There is also a black area surrounding something on the side of the hull, back of the landing legs.
Still more parts to add, including the rocket nozzles and the strips that will cover the seams between the upper and lower hulls. There will be a few more details as well. Plus, I need to deal with the piles of cargo strapped into place inside.
By the way, I ended up cutting thruster ports in the aft bulkhead. These are another of those features that are missing from the kit and really should be there. One thing I didn’t deal with and may just leave is the part of the lower hull that sticks out the back. The film model doesn’t do this, but I’m thinking I’ll just leave it. It’ll just be one of those model features I can discuss.

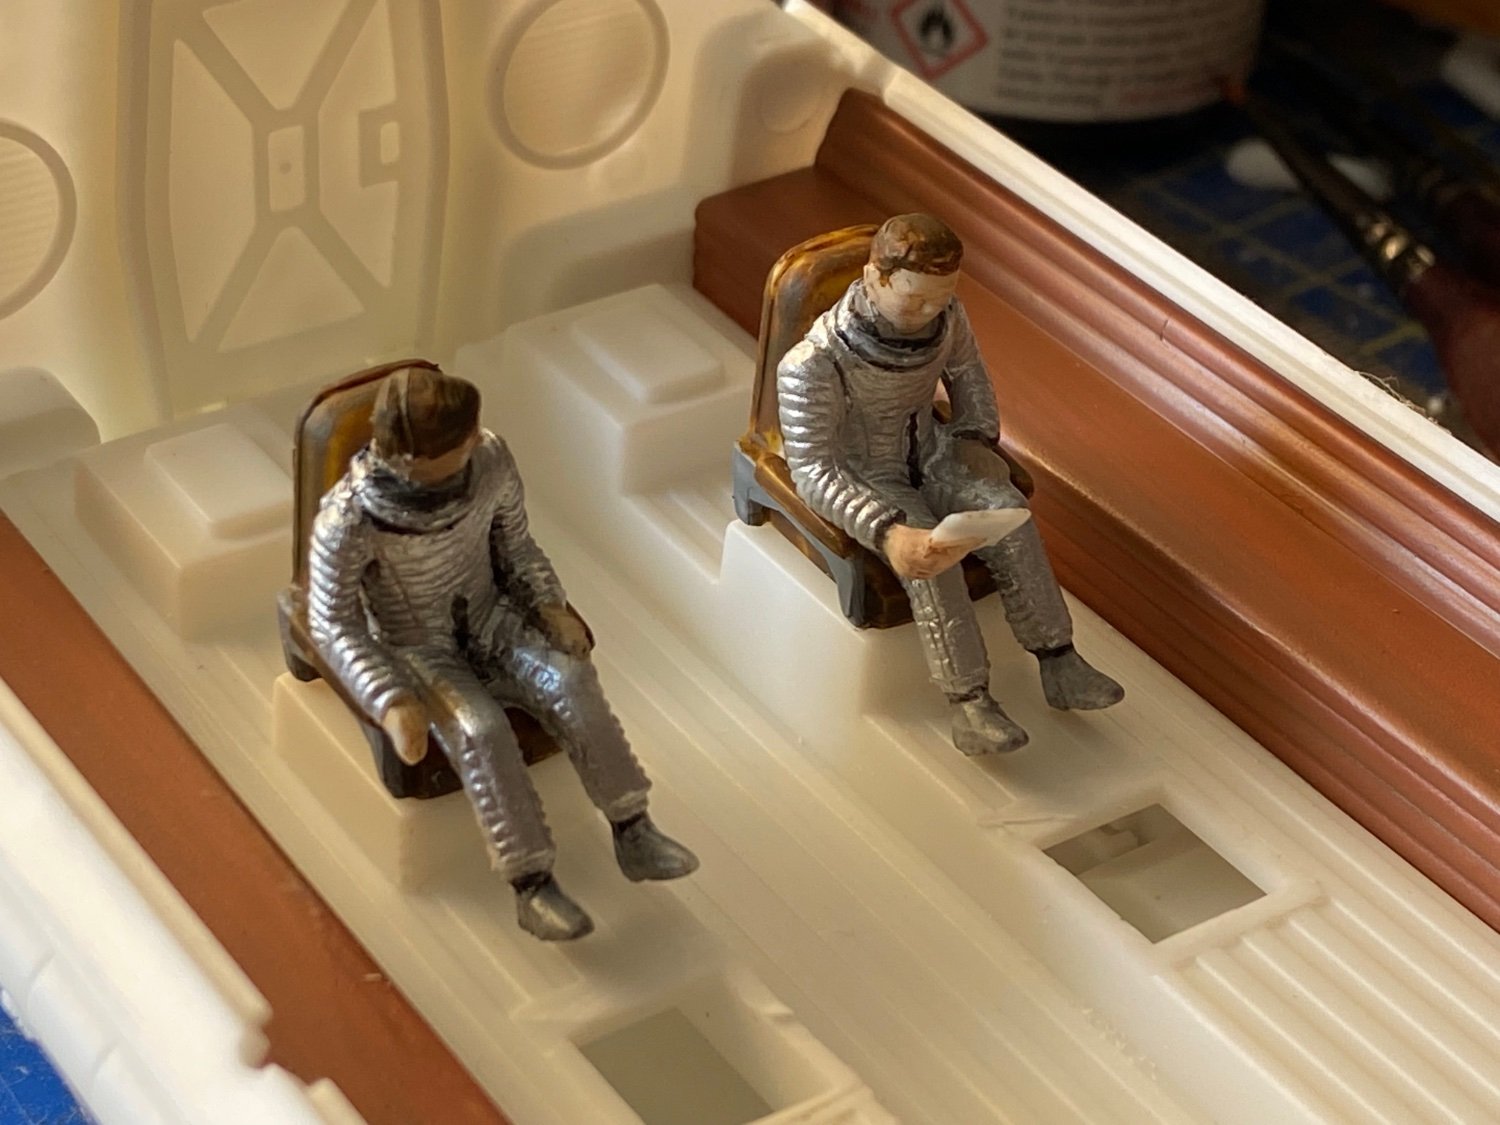
I ended up ordering a new set of astronaut figures from Shapeways. This time, I got the 1/48 scale figures instead of the 1/55 scale figures and they’re perfect. They’re a good match for the figures in the kit. I didn’t paint them up yet, except to give them a coat of primer, but you can see that the figures now look pretty compatible.

I plan to use just one figure with the model, though I have six of them. I’ll probably use one of these two.
Unless I get carried away with some new details, I should be wrapping up this build next time.


 More soon…


